How to Build a PC: A Beginner’s Guide


Building your own PC is a rite of passage for tech enthusiasts, offering complete control over the performance, aesthetics, and budget of your system. It may seem intimidating at first, but assembling a computer is simpler than it appears once you understand the essential components and their roles. This guide on how to build a PC will cover everything you need to know, from choosing parts to assembling them, troubleshooting common errors, and everything in between.
How to Build a PC: Essential Components
The first step when you build a PC is figuring out and choosing the right components. Each piece of hardware inside a PC contributes to the overall performance, and your choices should reflect your specific needs, whether that be gaming, video editing, or general use.
Processor (CPU)
The processor, or CPU, is the brain of your system is the first port of call when choosing the components for your PC build. It performs all the heavy lifting for calculations and tasks and will dictate your choice of motherboard. Different CPUs are designed for different purposes – for example, AMD’s Ryzen and Intel’s Core series both offer models suited for gaming, productivity, and multitasking.
Different CPU models can have different socket types, so your choice will influence the motherboard that you select, and there are other considerations to keep in mind as well. After choosing a CPU, you will need to check whether it includes a stock cooler and, if it does, whether that will be sufficient for your needs. If not, you’ll need to invest in an aftermarket cooling solution, which we will discuss later on.
Motherboard
The motherboard is the foundation of your PC, determining the type of RAM and expansion options you can use among other things. It’s crucial to select one that matches your CPU’s socket type and supports the features you need, such as overclocking or multiple GPUs. The form factor, such as ATX or micro-ATX, affects the size of your build and compatibility with your case. RAM support is another key consideration – motherboards have limits on both the capacity and speed of RAM they can handle, as well as the number of physical slots to hold the RAM. If you plan to upgrade in the future, choose a motherboard that allows for expansion.
Memory (RAM)
RAM provides your system with the ability to multitask and access data quickly. The capacity and speed you choose depend on your use case and we have a guide to RAM that can help you figure out how much you will need. Casual users may only need 16GB or even 8GB of RAM, while power users, gamers and content creators might require 32GB or more. It’s important to check your motherboard’s specifications to ensure compatibility with the RAM’s speed and configuration.
Storage – SSD vs HDD
When it comes to storage, SSDs are the go-to option for speed and reliability. An SSD reduces boot times, speeds up file transfers, and improves application loading. NVMe SSDs, which connect via M.2 slots on the motherboard, are even faster than traditional SATA SSDs. In contrast, an HDD can provide much greater storage space at a lower cost, making it a good option when you have a lower budget. For those needing vast amounts of space, a combination of an SSD for the operating system and a regular hard drive for bulk storage is an efficient and cost-effective solution.
Power Supply (PSU)
The PSU powers every component in your PC, so selecting a reliable unit is essential. It’s important to consider the wattage based on the total power consumption of your components. A PSU with an 80 Plus certification ensures energy efficiency, reducing heat and electricity costs. Modular PSUs offer cable management flexibility, eliminating clutter for better airflow. Underpowering your PC can lead to instability, while overestimating may waste money.
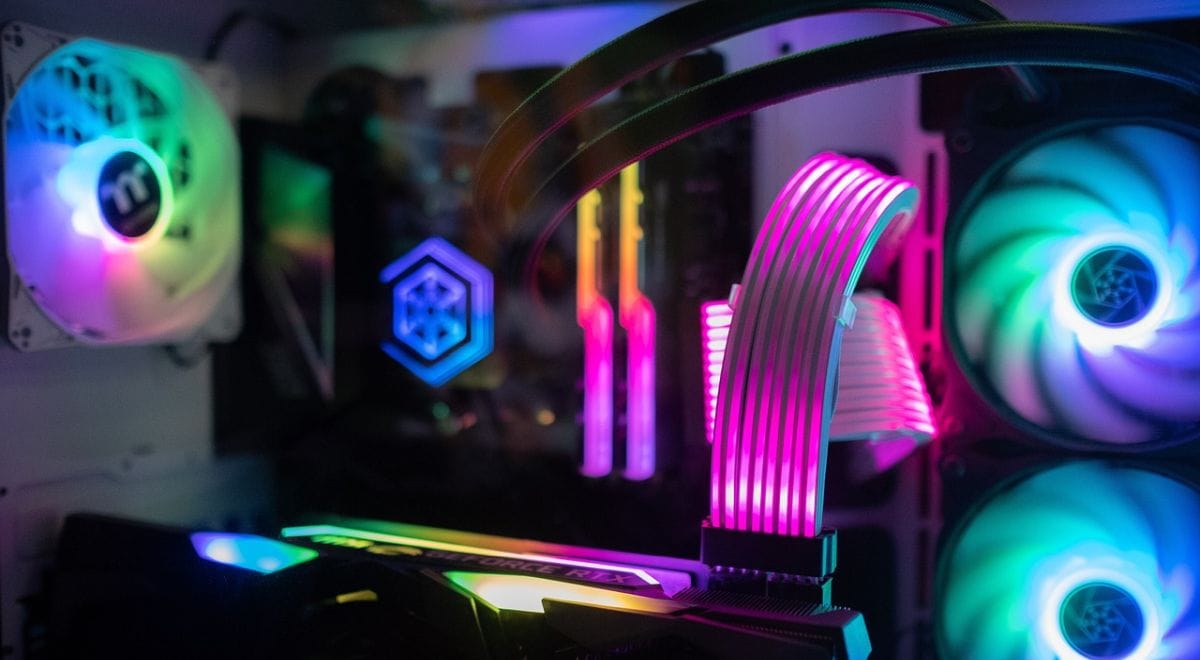
PC Case
Although style is important to many of us, your PC case isn’t just about aesthetics – it’s a critical factor for airflow, cooling, and compatibility. Ensure the case fits your motherboard size (ATX, Micro-ATX, Mini-ITX) and has space for your GPU, PSU, and cooling systems. Cable management options and dust filters make maintenance easier, while cases with tempered glass panels showcase your build. Don’t forget ventilation—cases with adequate fan mounts or pre-installed fans keep temperatures in check, especially during intensive tasks like gaming or video rendering.
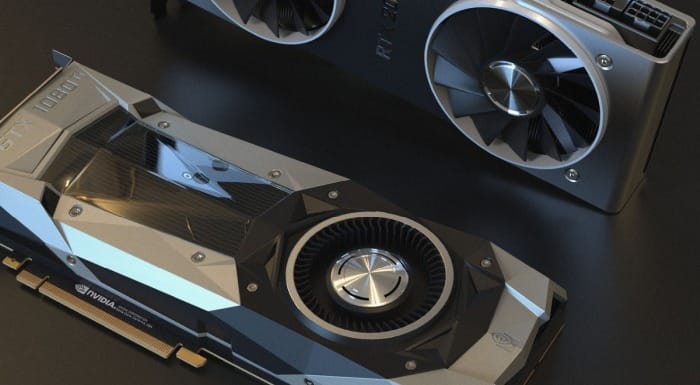
Graphics (GPU)
The GPU is the star of any gaming or creative workstation build. Modern GPUs from NVIDIA and AMD offer incredible performance, but your choice should also depend on your monitor’s resolution and refresh rate. Ensure the GPU fits your case and that your PSU can supply adequate power for the card.
While a GPU is an essential component for gamers and content creators who use software that demands lots of graphics processing power, they may not be required if you build a PC for everyday use. Lots of modern CPUs include some level of graphic processing power which is enough for everyday use like watching videos, and that can save you a decent amount of money when you build a PC.
CPU Cooler
Finally, consider the CPU cooler. While many CPUs include a stock cooler, aftermarket solutions provide better thermal performance and quieter operation. Air coolers are affordable and reliable, while liquid cooling offers superior heat dissipation for overclocked or high-performance systems. Ensure the cooler fits your case and is compatible with your motherboard’s mounting system.
How to Build a PC – Step by Step Guide
There are a number of steps when you start to build a PC and it can seem quite daunting when you first start. However, the steps below provide an overall idea of how to build a PC and should help you to get the job done without too much worry:
1. Start by preparing your workspace. A large, static-free surface with plenty of lighting is ideal. Gather all the tools you’ll need, including a Phillips-head screwdriver, zip ties, and an anti-static wrist strap. Lay out all your components and ensure you have the necessary cables and accessories.
2. Begin with the CPU installation. Carefully open the CPU socket latch on the motherboard and align the notches on the CPU with the socket. Gently place the CPU into the socket without applying pressure, then close the latch. If your CPU doesn’t come with pre-applied thermal paste, apply a small amount to its surface before attaching the cooler.
3. Next, install your RAM. Locate the DIMM slots on your motherboard and open the latches. Insert the RAM sticks into the correct slots, ensuring they are fully seated and the latches click into place. Refer to your motherboard’s manual to determine the optimal configuration for dual-channel operation.
4. Now it’s time to attach the cooler. Stock coolers often come with pre-applied thermal paste, while aftermarket solutions may require you to apply it manually. Secure the cooler to the motherboard using the provided brackets or screws, ensuring firm contact with the CPU. Plug the cooler’s fan or pump into the designated header on the motherboard.
5. Mount the motherboard into the case by first installing the I/O shield, a small metal plate that snaps into the back of the case. Align the motherboard with the standoffs inside the case and use screws to secure it in place. Take care not to overtighten, as this can damage the board.
6. Install your storage next. For SSDs and HDDs, locate the drive bays or M.2 slots in your case. Secure the drives using screws or clips and connect them to the motherboard using the appropriate cables. M.2 drives slot directly into the motherboard and are secured with a single screw.
7. Insert the GPU into the PCIe slot on the motherboard. Remove the necessary expansion slot covers from the case, then gently push the GPU into place until it clicks. Secure it with screws and connect the power cables from your PSU.
8. Position the PSU in the case, typically at the bottom, and secure it with screws. Connect the power cables to the motherboard, GPU, and storage devices. Refer to your PSU’s manual for guidance on which cables to use.
9. Cable management is the next step. Route your cables through the case’s built-in channels and secure them with zip ties. Neat cabling not only improves airflow but also makes troubleshooting easier.
10. Finally, connect your PC to a monitor and peripherals, then power it on. Enter the BIOS to check that all components are recognized and adjust settings if needed.
Common Errors when you Build a PC
Even with careful assembly, issues can arise. In fact, it’s a part of the process that anyone who learns how to build a PC has to go through at some point – usually more than once.
If your PC doesn’t power on, first check that the PSU switch is on and all power connections are secure. If you’re not getting a display, ensure the GPU and monitor are properly connected and that the monitor is set to the correct input. For RAM issues, re-seat the sticks and consult your motherboard’s manual. If you hear beeps or see error codes, consult your motherboard manual. These signals can indicate everything from loose RAM to a missing GPU. Overheating is often caused by an improperly mounted cooler or insufficient airflow, so double-check your installation and fan orientation.
Building a PC for Yourself
Learning how to build a PC is a rewarding process that allows you to tailor your machine to your exact needs. With the help of tools like PC Part Picker to ensure compatibility and this guide to walk you through the process, you’re well-equipped to create your dream computer. Take your time, enjoy the experience, and join the ranks of PC builders who have unlocked the full potential of DIY computing.